
Is your tap driving you crazy with its incessant dripping? Don’t worry. We’ve got you covered. First, let’s identify the cause of the leak. Leaking taps can be caused by various factors, such as worn-out washers, damaged O-rings, or faulty valves. It’s important to pinpoint the exact cause before proceeding with the repair.
Once you’ve identified the issue, we’ll provide you with easy-to-follow steps to fix the leaking tap. With just a few tools and a little bit of your time, you’ll have your tap working like new again in no time. So, let’s roll up our sleeves and get started on repairing that annoying leak!
Identifying the Cause of the Leak
The first step in fixing a leaking tap is identifying the cause of the leak, as this will help determine the appropriate repair method. Begin by turning off the water supply to the tap. This can usually be done by locating the shut-off valve located beneath the sink. Once the water is turned off, inspect the tap for any visible signs of leakage.
Check the base of the tap, the handle, and the spout for any signs of water dripping or pooling. If there are no visible signs of leakage, the next step is to check the cartridge or washer inside the tap. This is often the primary cause of a leaking tap.
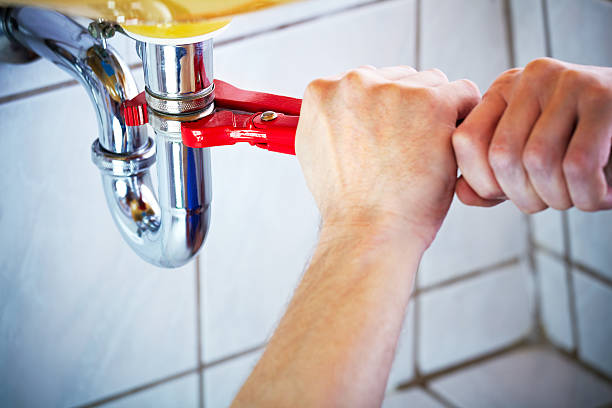
To access the cartridge or washer, you may need to remove the handle or other parts of the tap. Use a wrench or pliers to carefully remove the components, taking care not to damage them.
Once the cartridge or washer is exposed, inspect it for any signs of wear or damage. If it appears worn or damaged, it will need to be replaced. Identifying the cause of the leak is crucial in order to proceed with the appropriate repair method and fix the leaking tap efficiently.
Steps to Fixing a Leaking Tap
Start by turning off the water supply to prevent any further drips from plaguing your peaceful home. Locate the shut-off valve underneath the sink or near the main water line in your house. Once you’ve successfully shut off the water, open the tap to release any remaining water in the pipes.
This step will help you avoid any unnecessary mess while working on the repair.
Next, you’ll need to disassemble the tap to identify the source of the leak. Use a screwdriver or an Allen wrench to remove the handle of the tap. Once the handle is removed, you’ll find a small screw or nut holding the cartridge or valve stem in place.
Carefully unscrew or loosen this fastener, and then pull out the cartridge or valve stem. Inspect the components for any signs of wear, damage, or buildup. If you notice any damaged or worn-out parts, it’s best to replace them with new ones.
Clean any debris or mineral deposits from the components using a brush or a mixture of vinegar and water. Finally, reassemble the tap in the reverse order and turn on the water supply to test for any remaining leaks.